I am excited to share my experience this year with making Valentines with my daughter. I snagged a wonderful idea from Pinterest, and we made Valentines both for her friends at school, as well as my students. Here is the original source from Pinterest if you are interested: Crayon Valentines
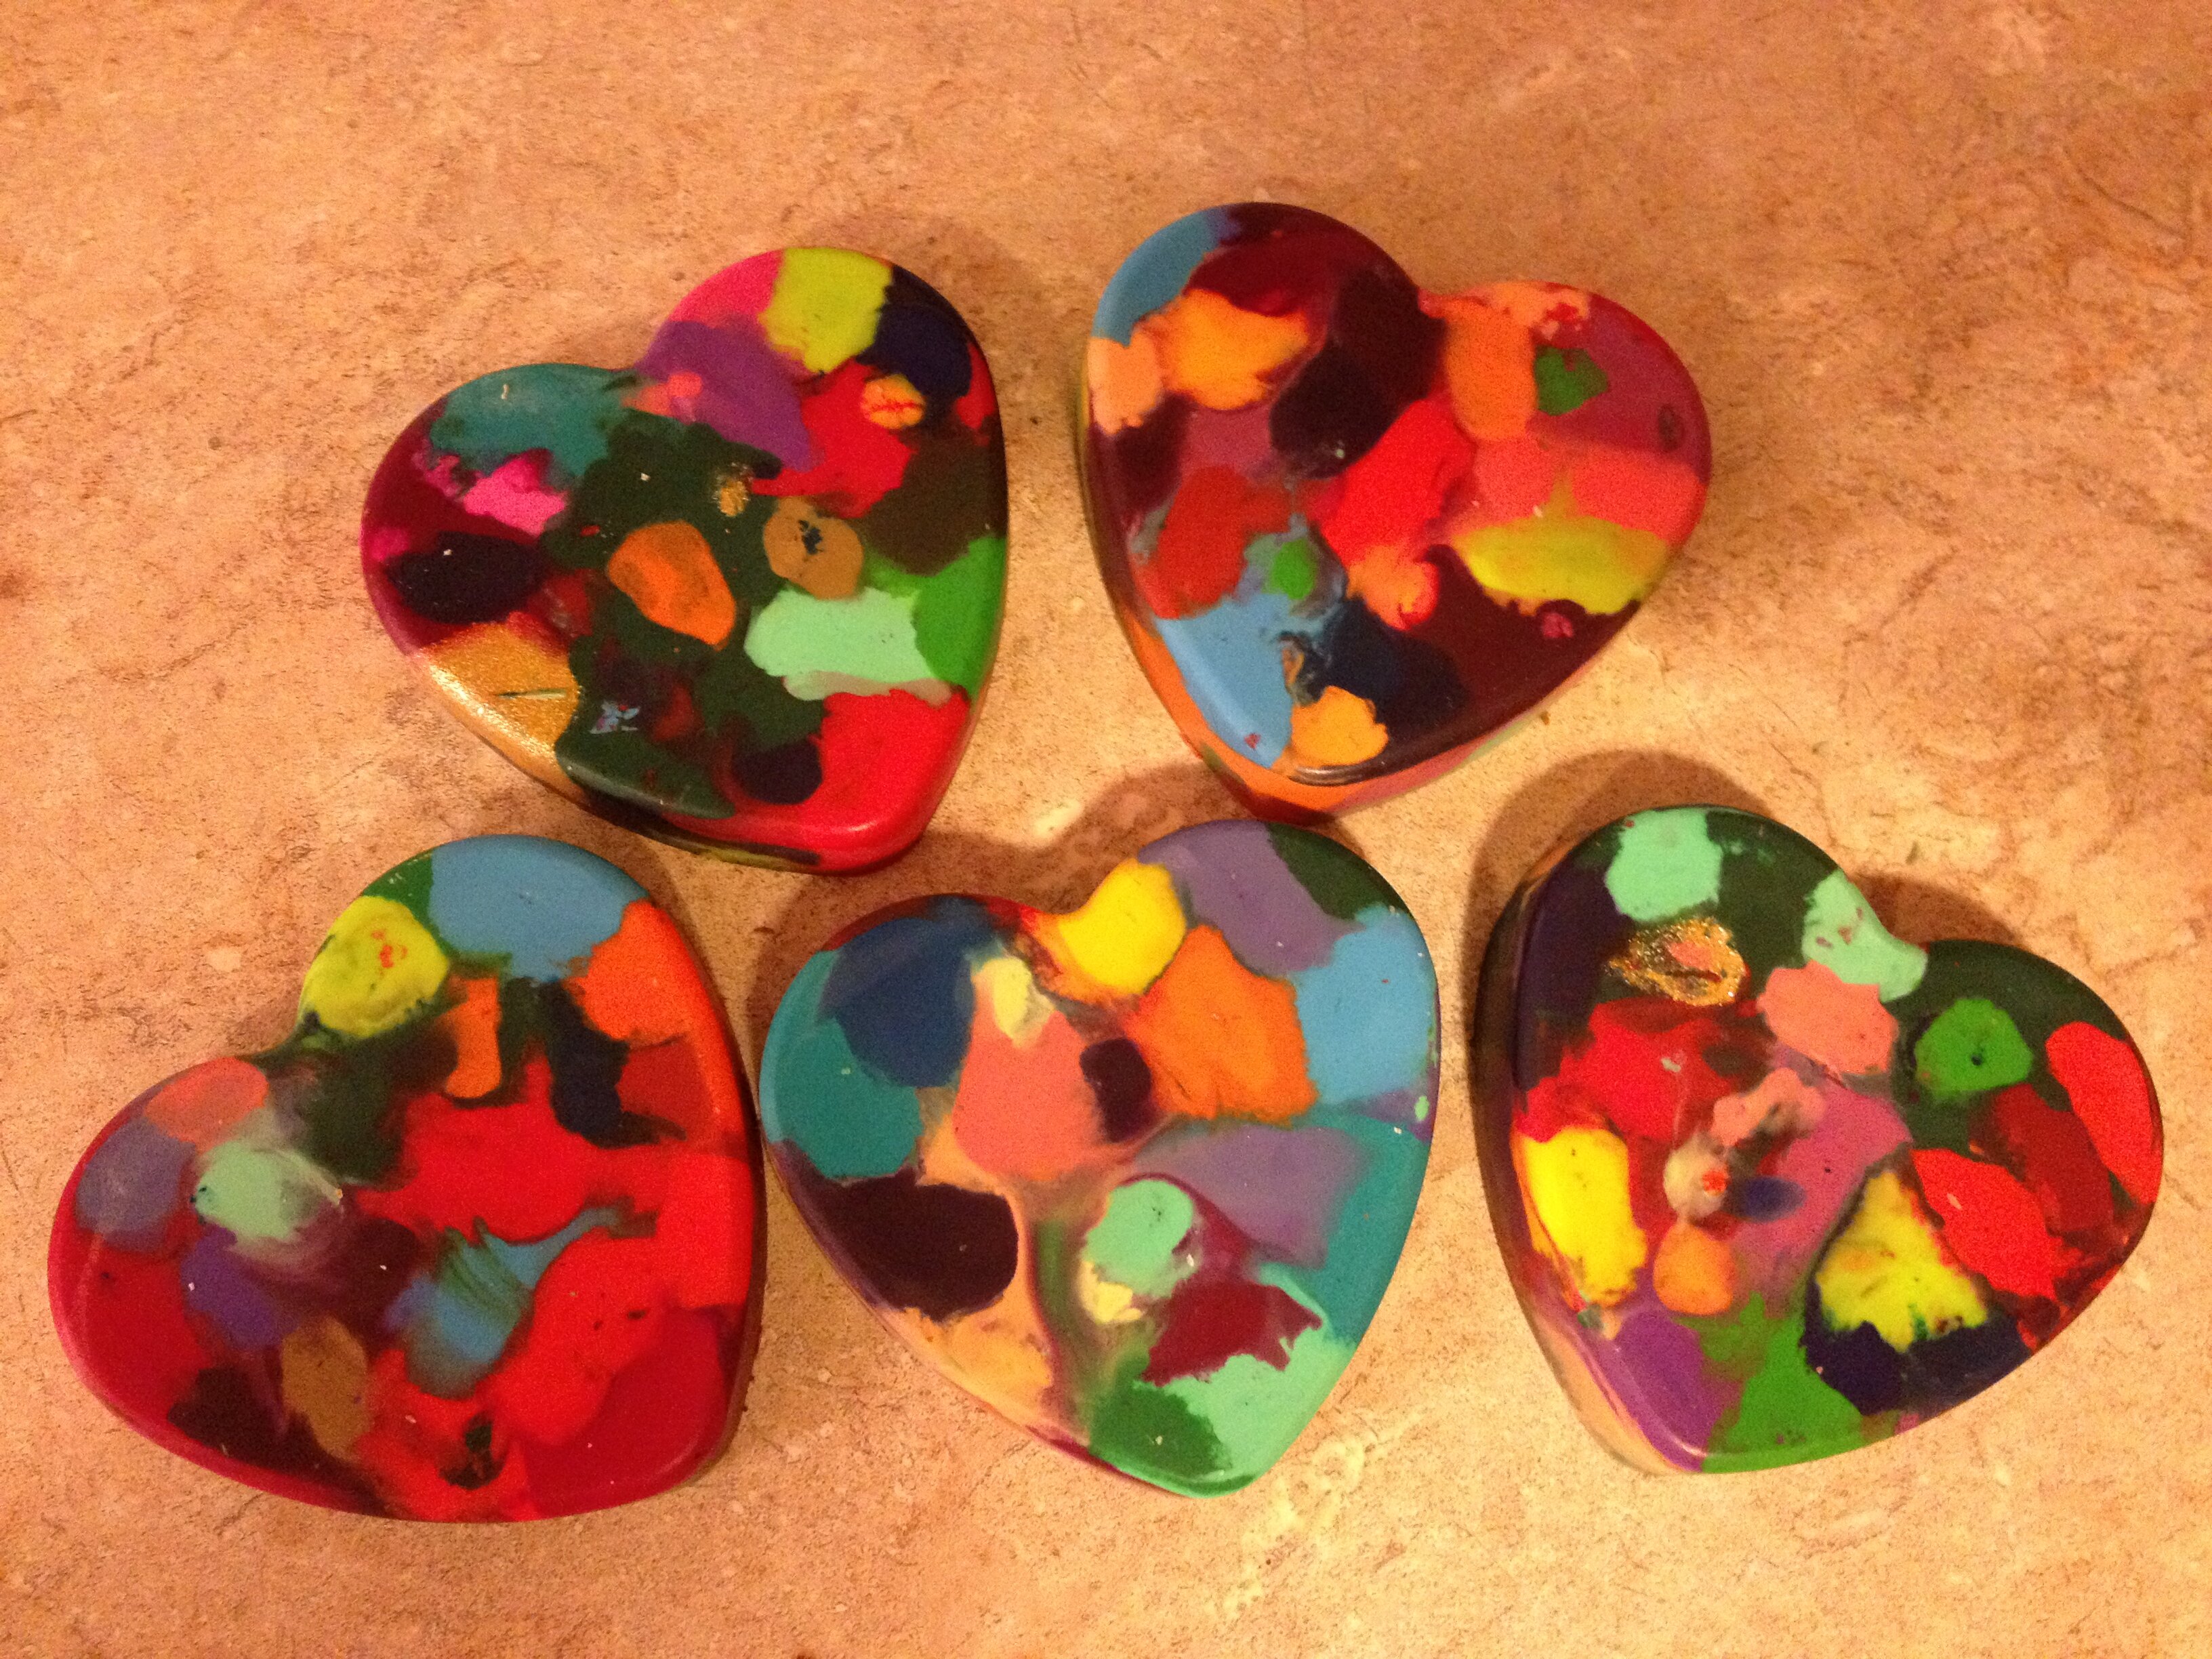
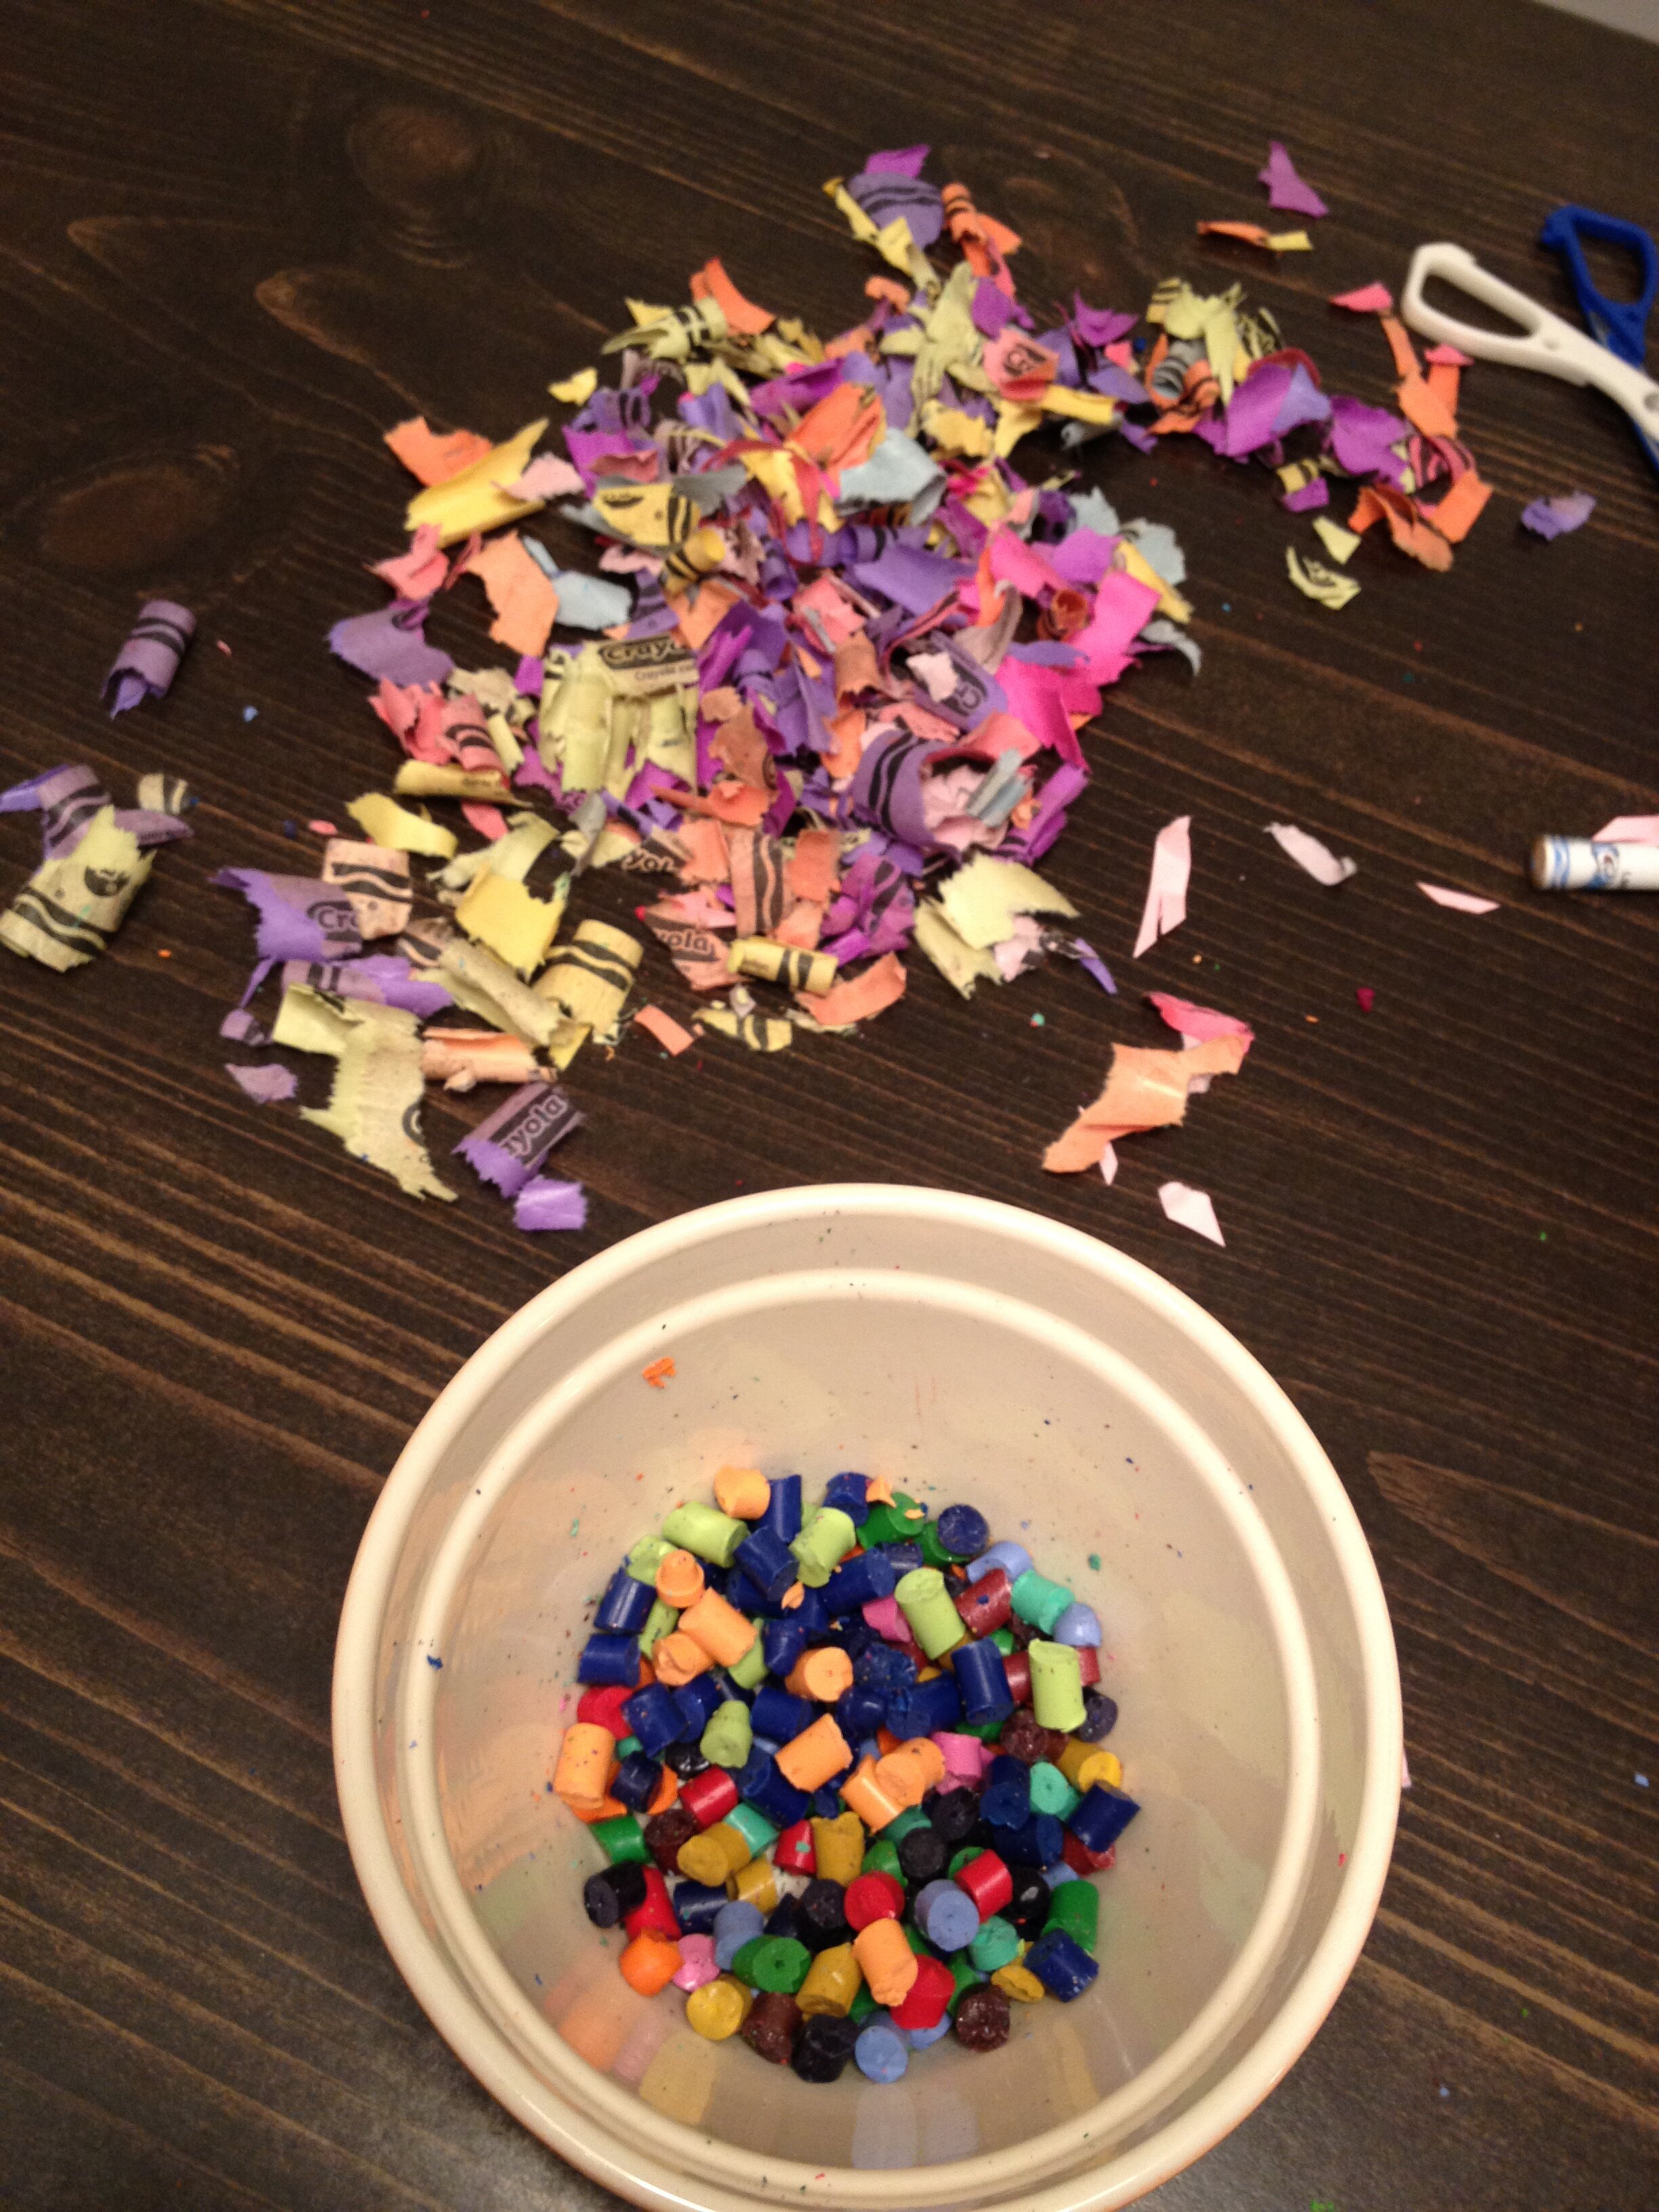
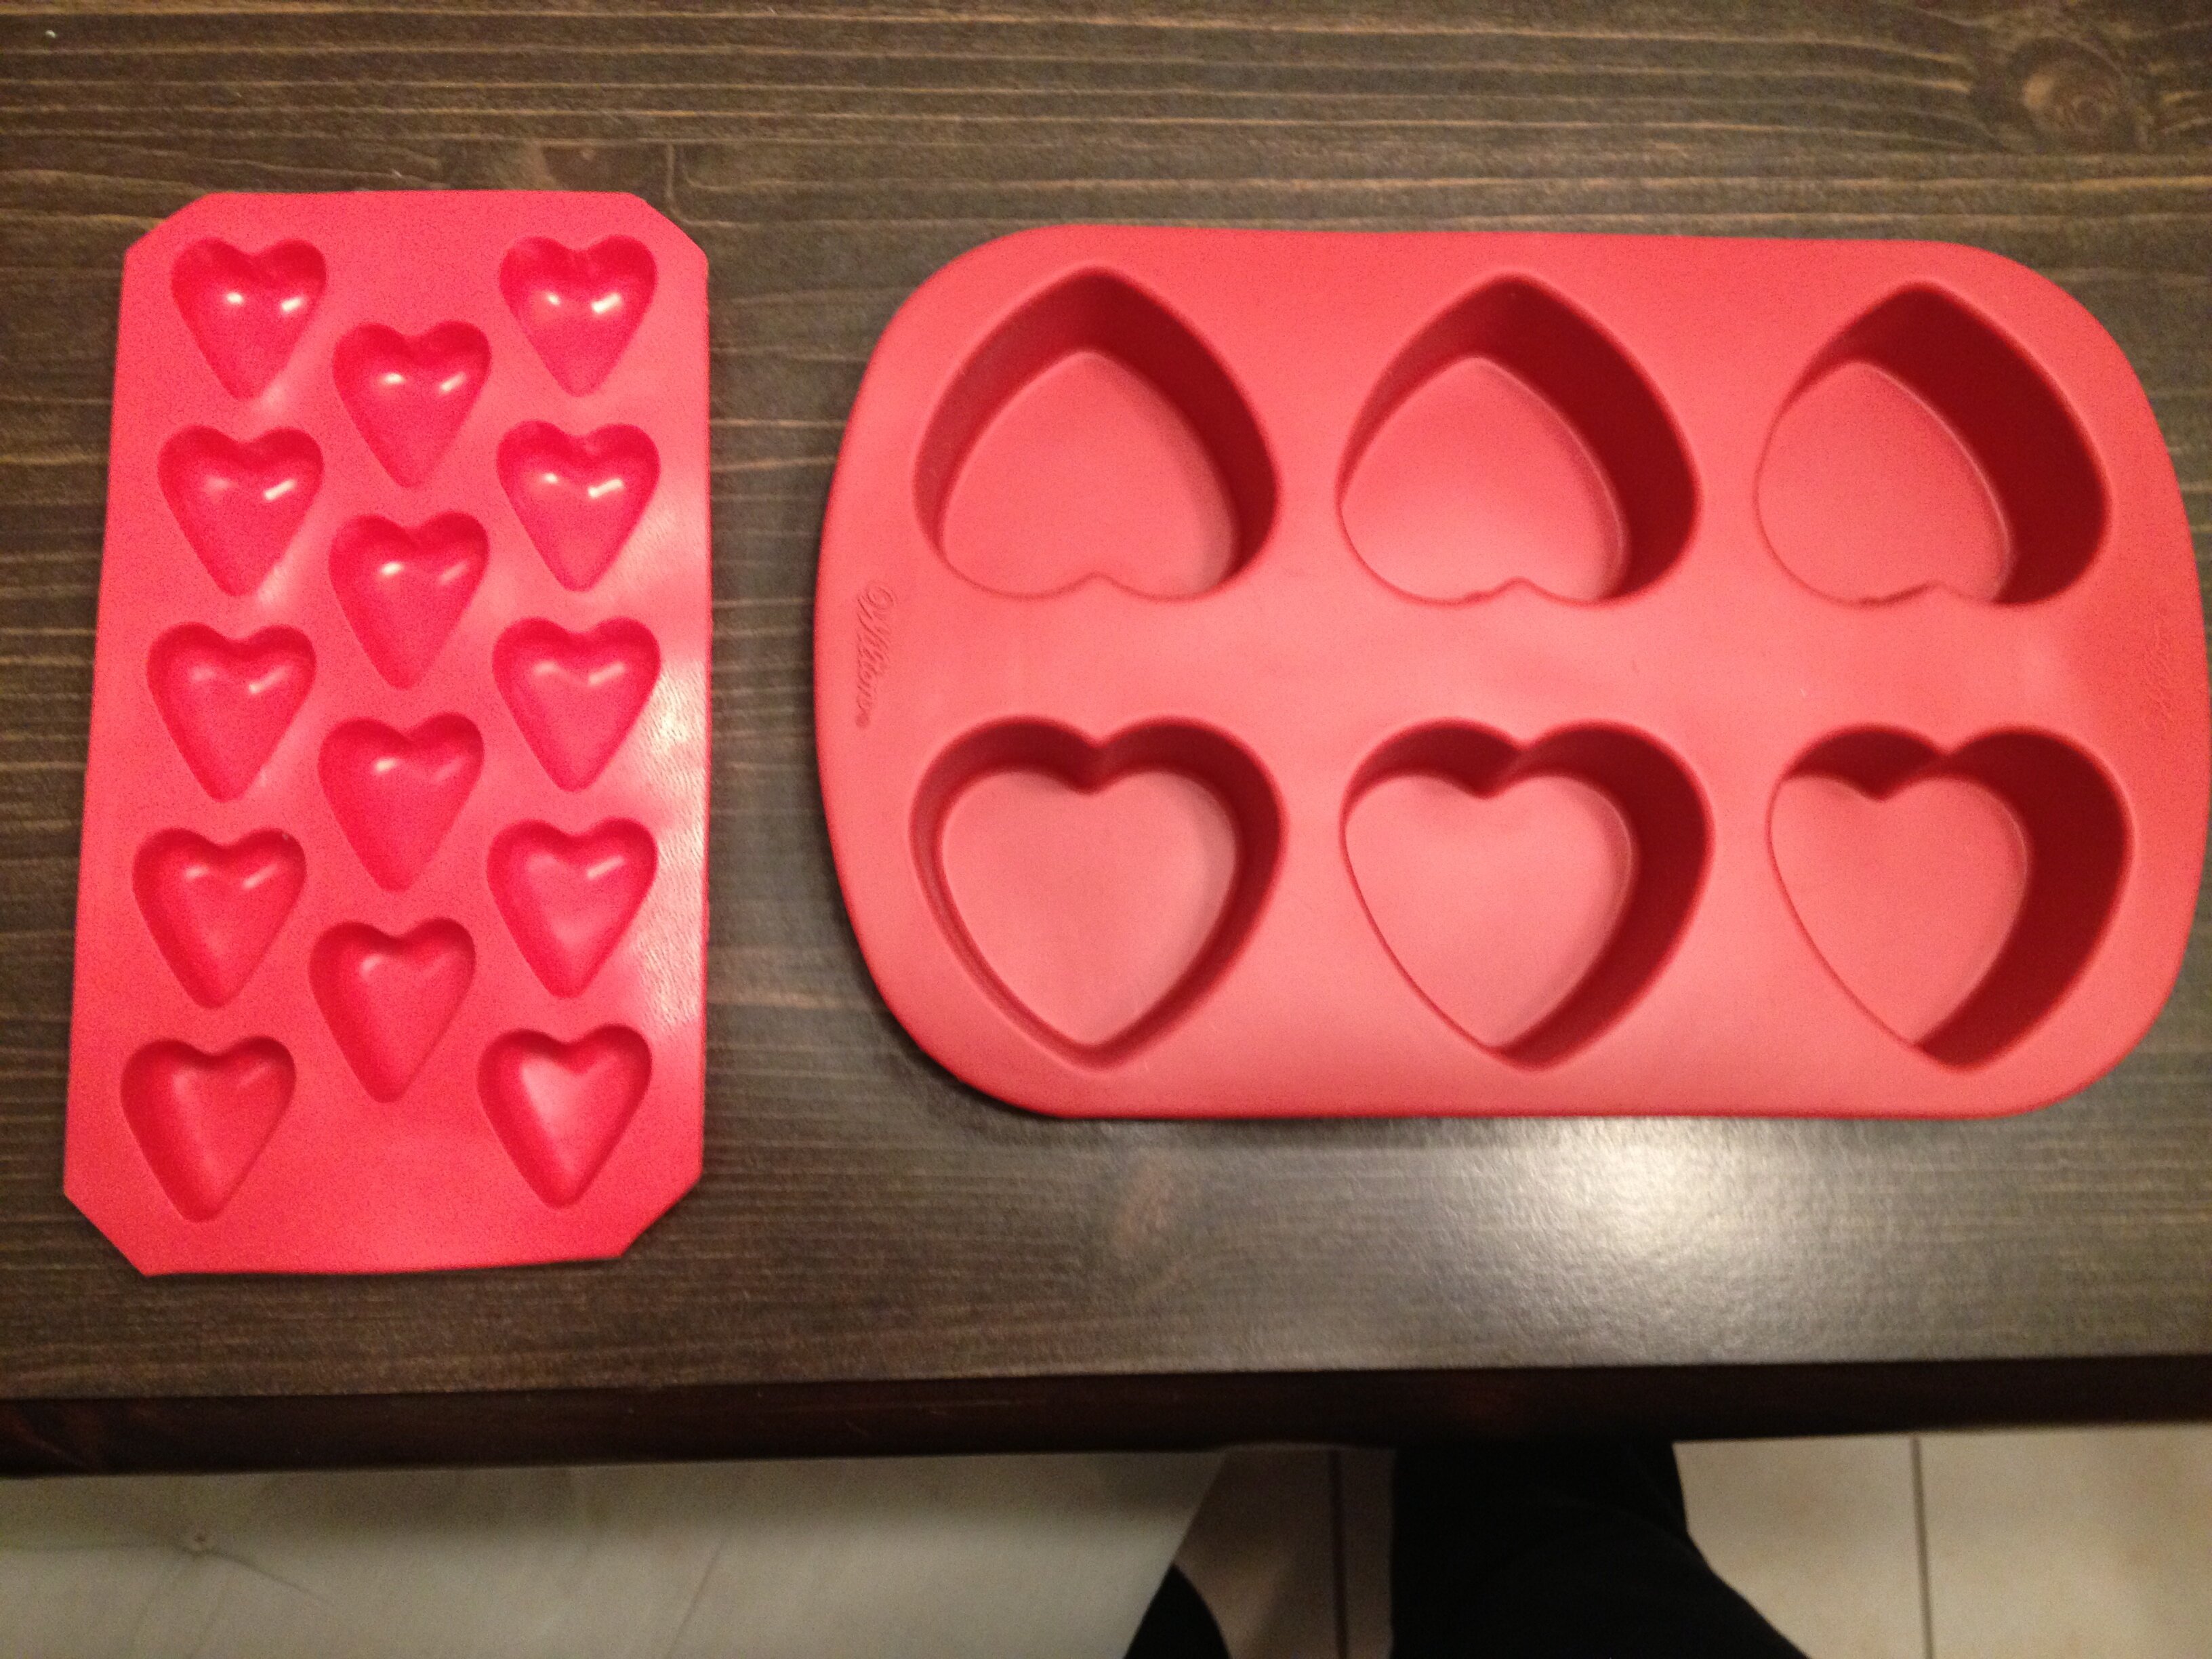
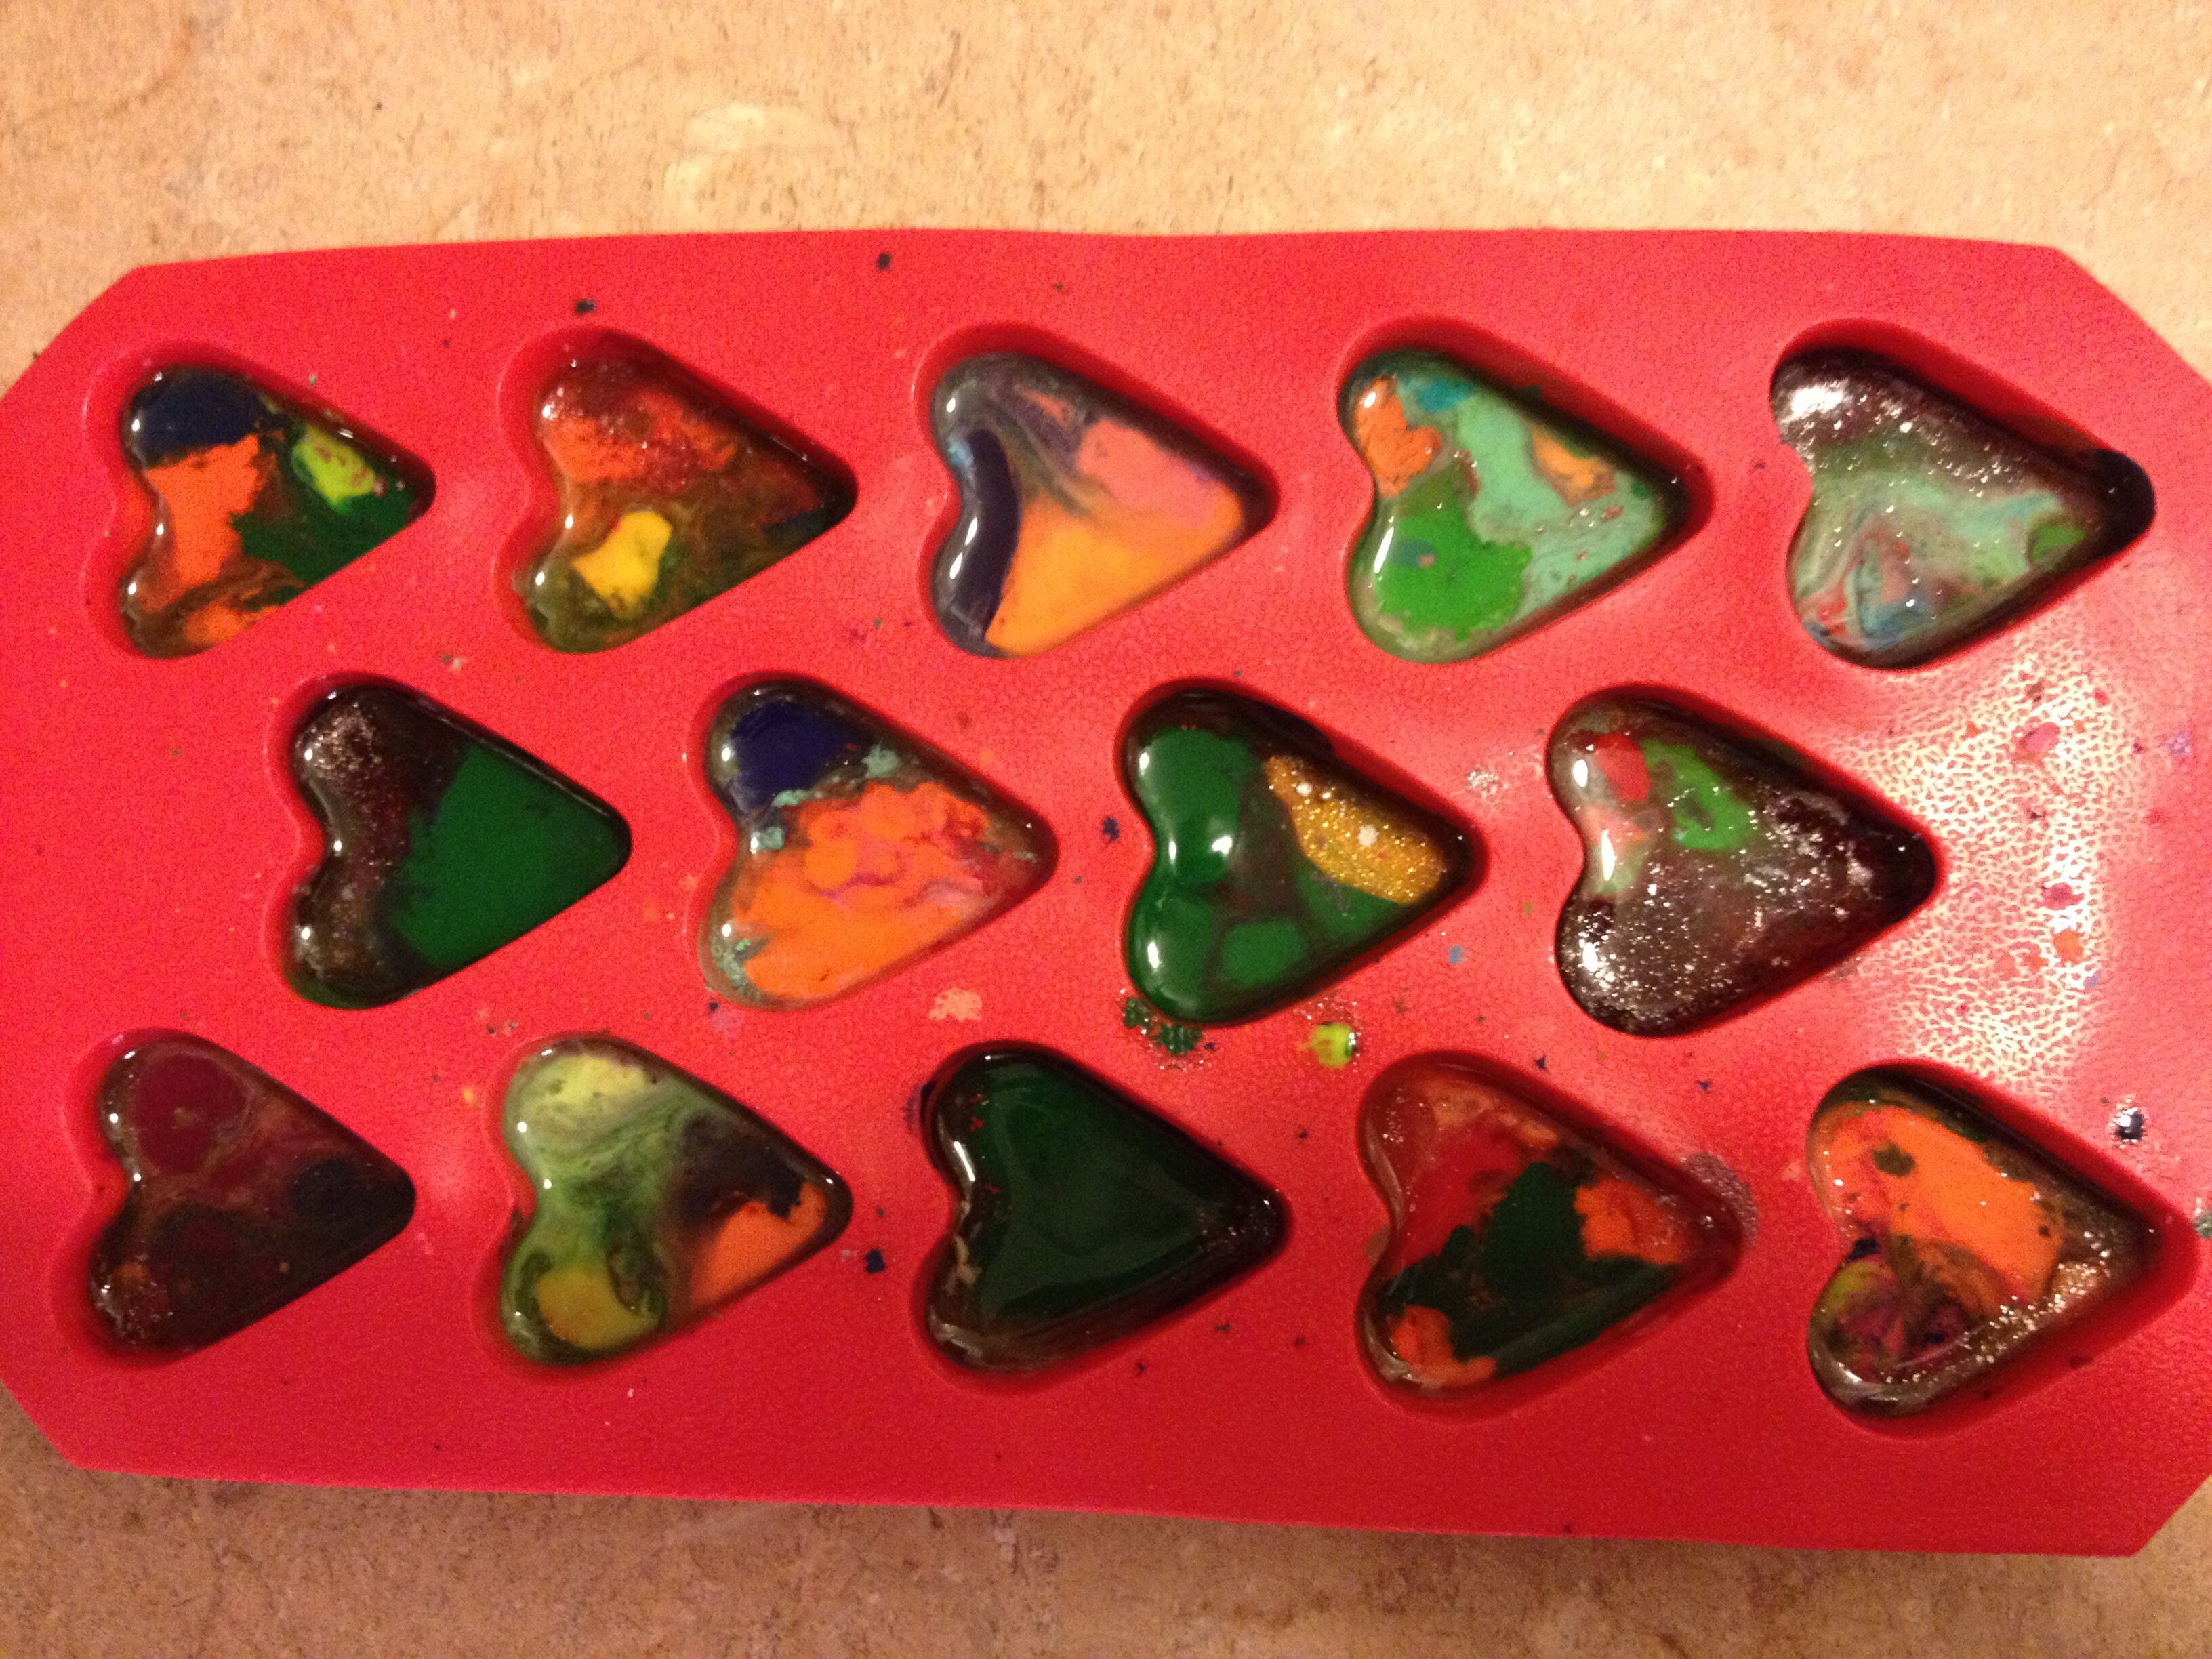
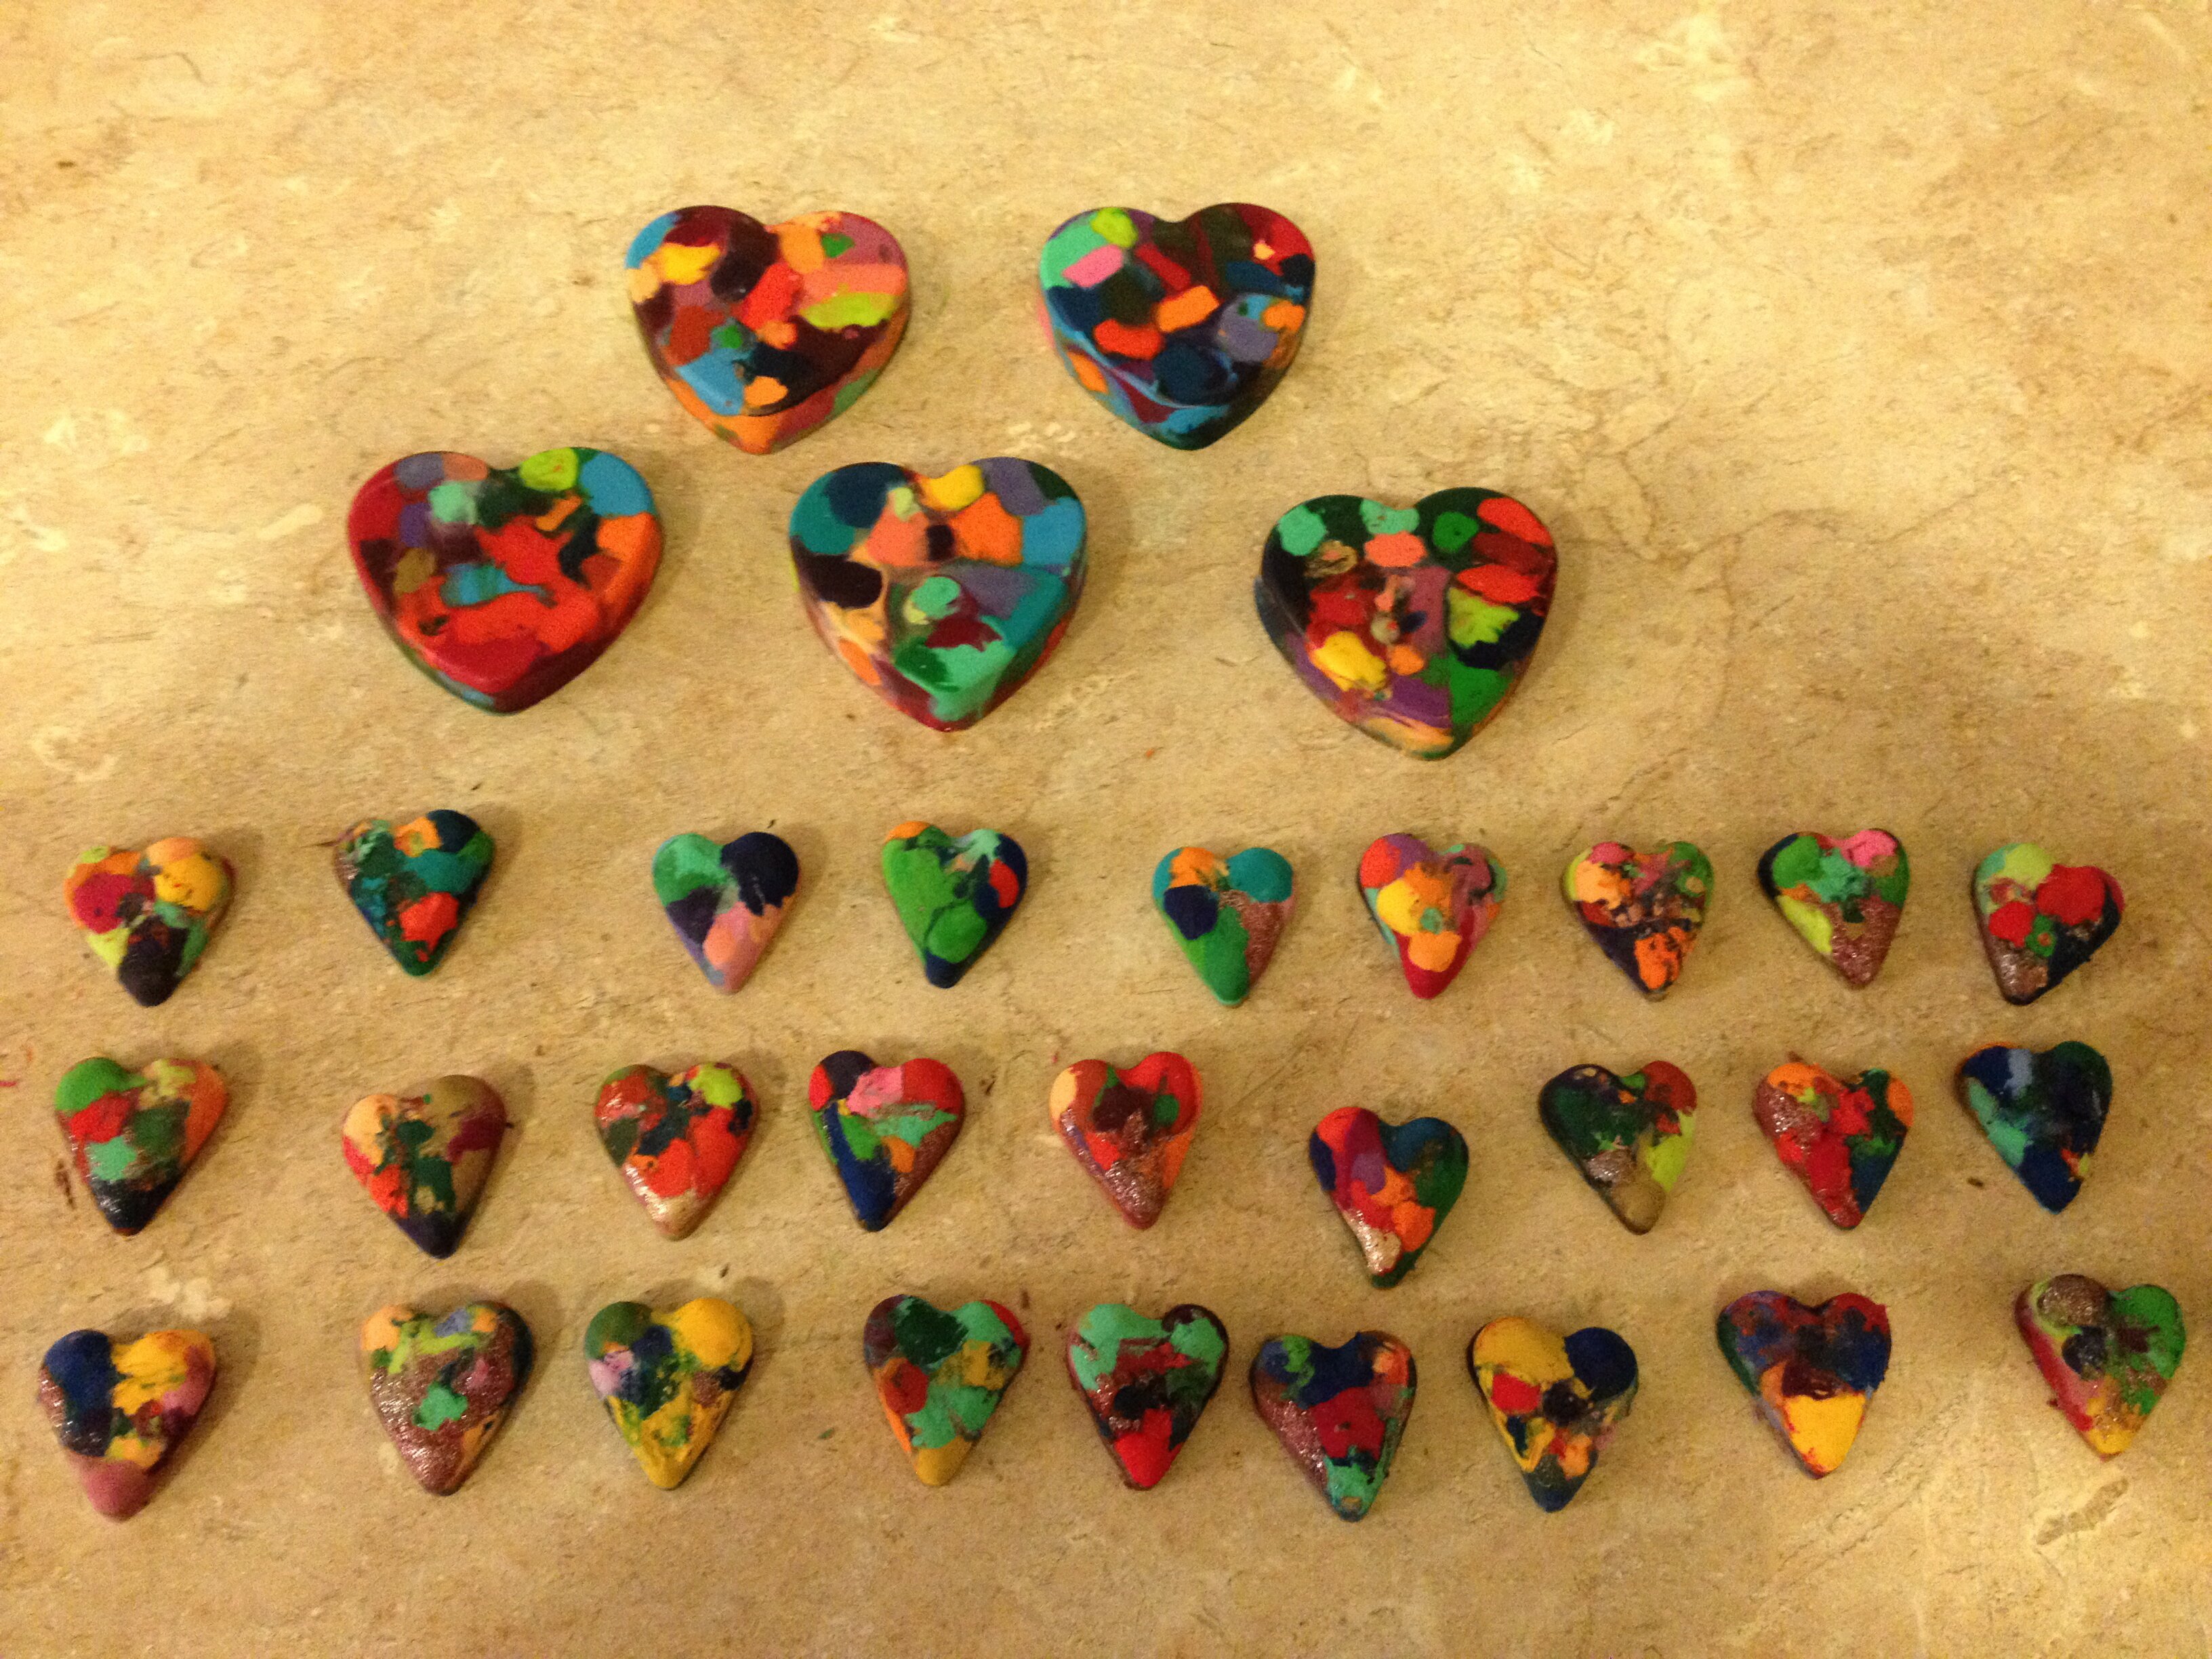
Our project had several steps. We started by making heart shaped crayons. We peeled crayons, chopped them up, mixed them up, and put them into heart shaped molds. We used both heart shaped silicone ice cube trays and heart shaped silicone cupcake trays. I recommend the ice cube trays, simply because you can get more hearts faster.

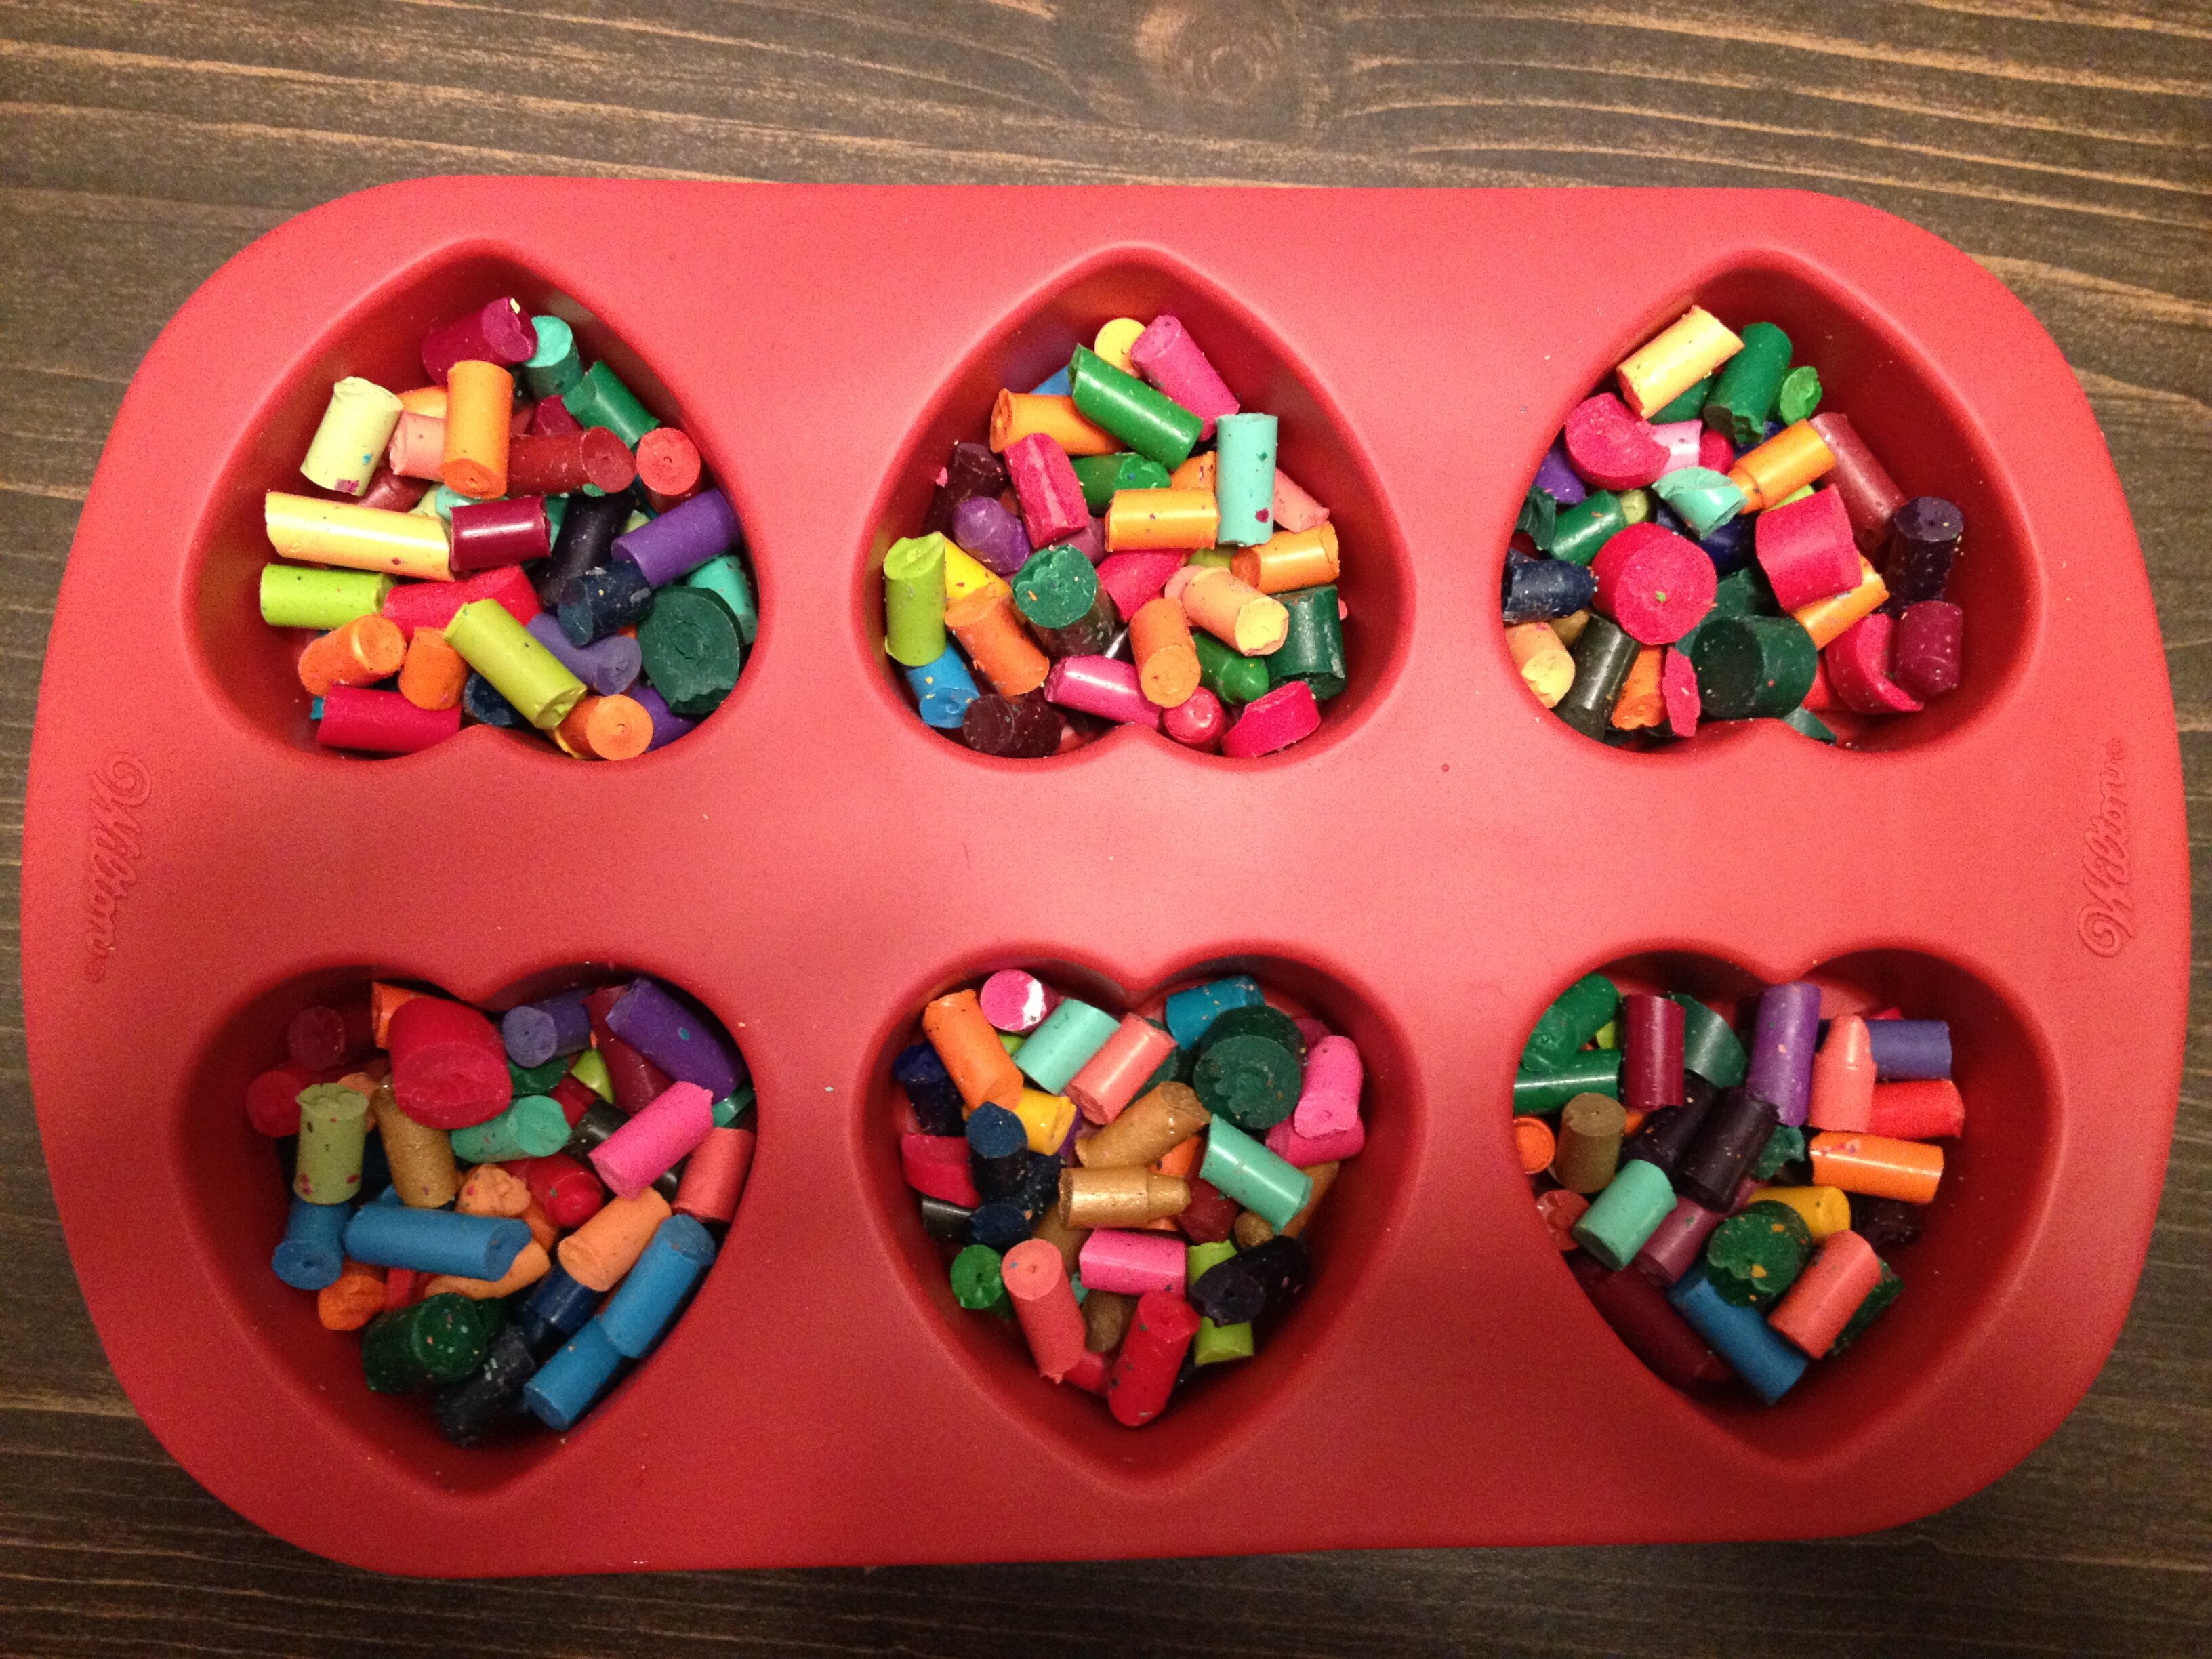
Bake the crayons at 230 degrees for fifteen minutes, then let them cool. It took our crayons about a half an hour to cool well enough for us to be able to remove them from the trays. We let them sit for a while longer before coloring with them.
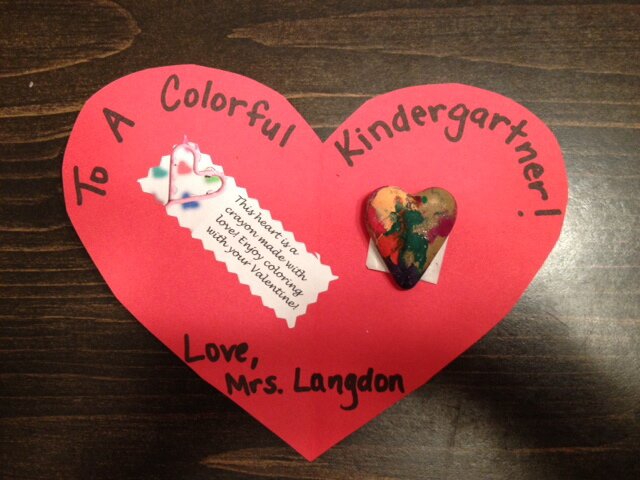
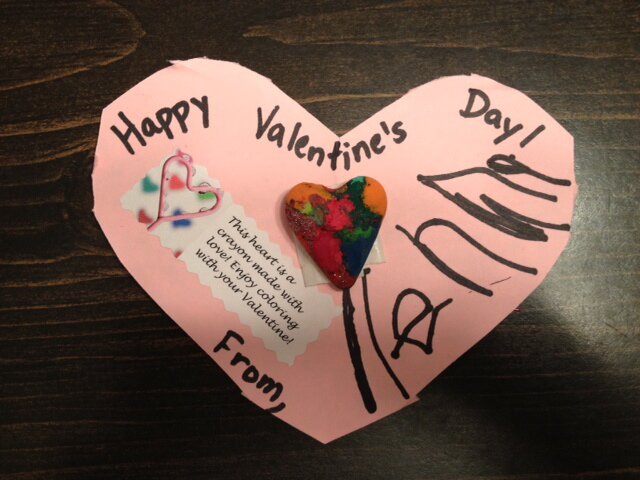
Once we had the crayons made, we made construction paper hearts to attach them to. This was simply a matter of folding and cutting. I wrote “To A Colorful Kindergartner” on the ones for my students, and “Happy Valentine’s Day” on the ones for my daughter’s class. Then we signed our names on our cards.
We attached a little sticker to each card explaining that the heart is a crayon to be colored with. I was concerned that the kids would not know what is was, and I wanted to be sure parents knew too. If you want to stickers I used, you can download them for free by clicking here. Valentine Crayon Sticker
Our last step was to tape the crayon heart on to the Valentine. Voila! Adorable, handmade Valentines that were SO much fun to make!
No comments yet.